
sE X1 vs Rode NT1-A
Sunday, January 20th, 2013 | by Sacha Müller
 To say there is a lot of competition in the $250-and-under microphone market is an understatement. Nonetheless, several mics have stood out over time as favorites in this category. One such mic is the Rode NT1A. It’s favored for its affordable price, its sound, classy appearance and stunningly low self-noise level (5dBA!).
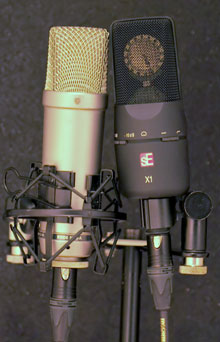
A new contender in this category is the sE Electronics X1. Like the NT1A, it also features a fixed Cardioid polar pattern at a competitive price. In this review, I will compare it to the established Rode NT1A.
One of the things that I’ve always noticed about the NT1A is how light it is. It always feels lighter than I expect a mic of its size to be. So when I first picked up the X1, I experienced the opposite sensation. It’s a lot heavier than I thought it would be. It feels substantial. Often the weight of a product psychologically contributes to one’s perception of quality, and in the case of the X1, the mic’s weight instills confidence that it is built solidly and is a quality product. Whether that perception is justified by studio performance, of course, remains to be seen.
sE X1 Accessories
The X1 ships in a foam-lined box containing the mic, a clip and an instruction manual with a frequency response chart. When I first opened the box, I was greeted with a picture of one of sE Electronics’ high-end mics with a shock mount, so I was a bit disappointed to find no shock mount bundled with the X1.
Besides the weight of the mic, another thing that struck me was the mic’s finish. The entire mic is covered with rubberized textured finish, even the grille! I think this is a brilliant idea, because the coating dampens the mic body and grille, preventing mechanically-induced resonances from affecting the audio. I have noticed this phenomena with many mics, especially those with undampened brass bodies. These mic bodies (and grilles) can produce a distinct sustaining tone when tapped. Because the components, including the pickup element, are not internally isolated from the body, mechanical vibrations can introduce resonance peaks into the audio signal. The downside to the X1’s rubberized finish is that it seems to scuff easily, and attract dust.
I ran into a problem with the mic clip included with the X1. While I did manage to wrestle the darn thing onto the mic once, it was entirely too difficult and frustrating, and was impossible to do without thoroughly blemishing the finish around the bottom of the mic where the clip attaches. The clips’ inner diameter may be roughly the right size to fit onto the mic, but the clip itself is too rigid. Mounting the clip on the mic is entirely too laborious. And once you get it on, it’s so tight that it is difficult to rotate the mic around in the clip. I take great care in fine-positioning my mics in a session, but this clip left me without the ability to do so. Attempts at small position changes would only result in sudden, big moves. For the rest of my sessions, I used an Audix D-Clip, which worked the way a simple mic clip should. Unless you plan to use an X1 for some kind of permanent installation, I’d say save yourself the frustration and use a different mic clip.
sE X1 Features
Unlike the no-frills NT1A, the X1 sports a -10db pad and a high pass filter, which cuts 4db/octave starting at 500hz. The switches don’t feel as solid as the rest of the mic. It’s hard to tell just by looking at them if they’re engaged or not, due to the lack of clear indicator markings. In fact, it’s hard to tell if you’ve engaged them or not, because they wiggle side to side a fair amount.
sE X1 in use: the sessions
I hold a part-time faculty position at Clackamas Community College’s music technology department. We have a thriving music program and lots of talent, so I enlisted the help of two promising student vocalists for my first shootout. For this I opted to set up both mics positioned side by side as closely as possible so that they would capture the same performance. The artist’s movement during a performance could cause slight volume and tonal fluctuations between the two mics, but I feel the resulting differences are negligible as compared to the potential differences between separate performances.
The signal chain for these sessions was as follows:
sE X1/Rode NT1A →
True Systems Precision 8 Mic Preamp →
Digidesign 192 I/O →
ProTools 8 HD
For vocal recordings, an external pop filter was used.
Male Vocals
First I recorded Joe Collins, who is a baritone. He performed an excerpt of a tune called “It Hurts Me Hurting You” by Intervision–a fantastic local Portland band.
Male Vox, Mic #1
Male Vox, Mic #2
At the first listen, both mics sounded very similar. No glaring differences between them stood out to me. The X1 has a little more high end going on which brings out more sibilance. I really dig how the Rode handles Joe’s siblance, and I would likely not put a de-esser on that track. With the X1, I would likely reach for a de-esser.
To my ear, the X1 was leaner on the low-end, but only very slightly so–nothing that a decrease in proximity effect on the NT1-A couldn’t replicate. Overall, there isn’t a huge difference between the mics.
Female Vocals
Next I recorded Brooke Braaten, who is a mezzo-soprano, but has a wide range. She performed an acapella cover of “Settle Down” by the wonderful New Zealand artist Kimbra.
Female Vox, Mic #1
Female Vox, Mic #2
I’m glad she sang such a dynamic piece because it threw a lot of information at these two mics. During several passages, she caught me by surprise and sang more powerfully than during the mic check and than I had anticipated. While neither mic peaked out in ProTools, you can audibly hear the signals being pushed in those spots. I could have re-recorded, but even when you leave headroom it can still happen during sessions. I hear the X1’s signal falling apart slightly during the peaks, whereas the Rode passes a sound that would still be very usable in a mix.
The difference in the high end and the resulting sibilance is more apparent here than it was with Joe, and I again prefer the NT1A. The track recorded through the X1 was pretty uncomfortable and fatiguing to listen to during “s’s”, “ch’s” and some “t’s”. And again the NT1A exhibited more low-mids — perhaps a little more than I’d like for Brooke’s voice, but when it comes to dealing with proximity effect/low mids on vocals I always prefer having to use EQ subtractively than additively. For high-end on vocals it’s the opposite. There’s nothing that I dislike more than having to attenuate the high-end on a vocal track after the fact. No matter which EQ I use, to me it always ends up giving the track the sensation of having a towel thrown over the voice. I’d much rather start with the warm sound of the NT1A and add a high shelf at 12k (if I need more cut) than having to deal with the excessive sibilance from the X1 track.
Guitars
 A student called Roberto was kind enough to play one of his own songs for me. I positioned both mics as closely as possible together, about 8 inches in front of the 13th fret (where the neck of the guitar meets the body). This is a proven sweet spot for mono-miking an acoustic guitar.
Before tracking, Roberto warned me (and lamented the fact) that the strings on his Fender DG-series guitar were old and worn. This is a good example of a real-world scenario that I and many other engineers commonly have to deal with.
Fender DG, Mic #1
Fender DG, Mic #2
For this instrument, the extra articulation offered by the X1 was welcome, to my ears. I suspect the Rode track would need the help of some additive EQ to help cut through a full mix, and also for my taste. To me the X1 adds just the right kind and amount of brightness to the guitar. The track does not sound brittle or thin, but rather pleasantly crisp. I also like how the X1 controls the low mids. In a mix with other instruments, I don’t want too much of those from the acoustic guitar, so I usually cut around 200–400hz. I would definitely do so with the NT1A track, but probably not with the X1; the balance of the X1 on this guitar is excellent, and is faithful to the sound of the instrument.
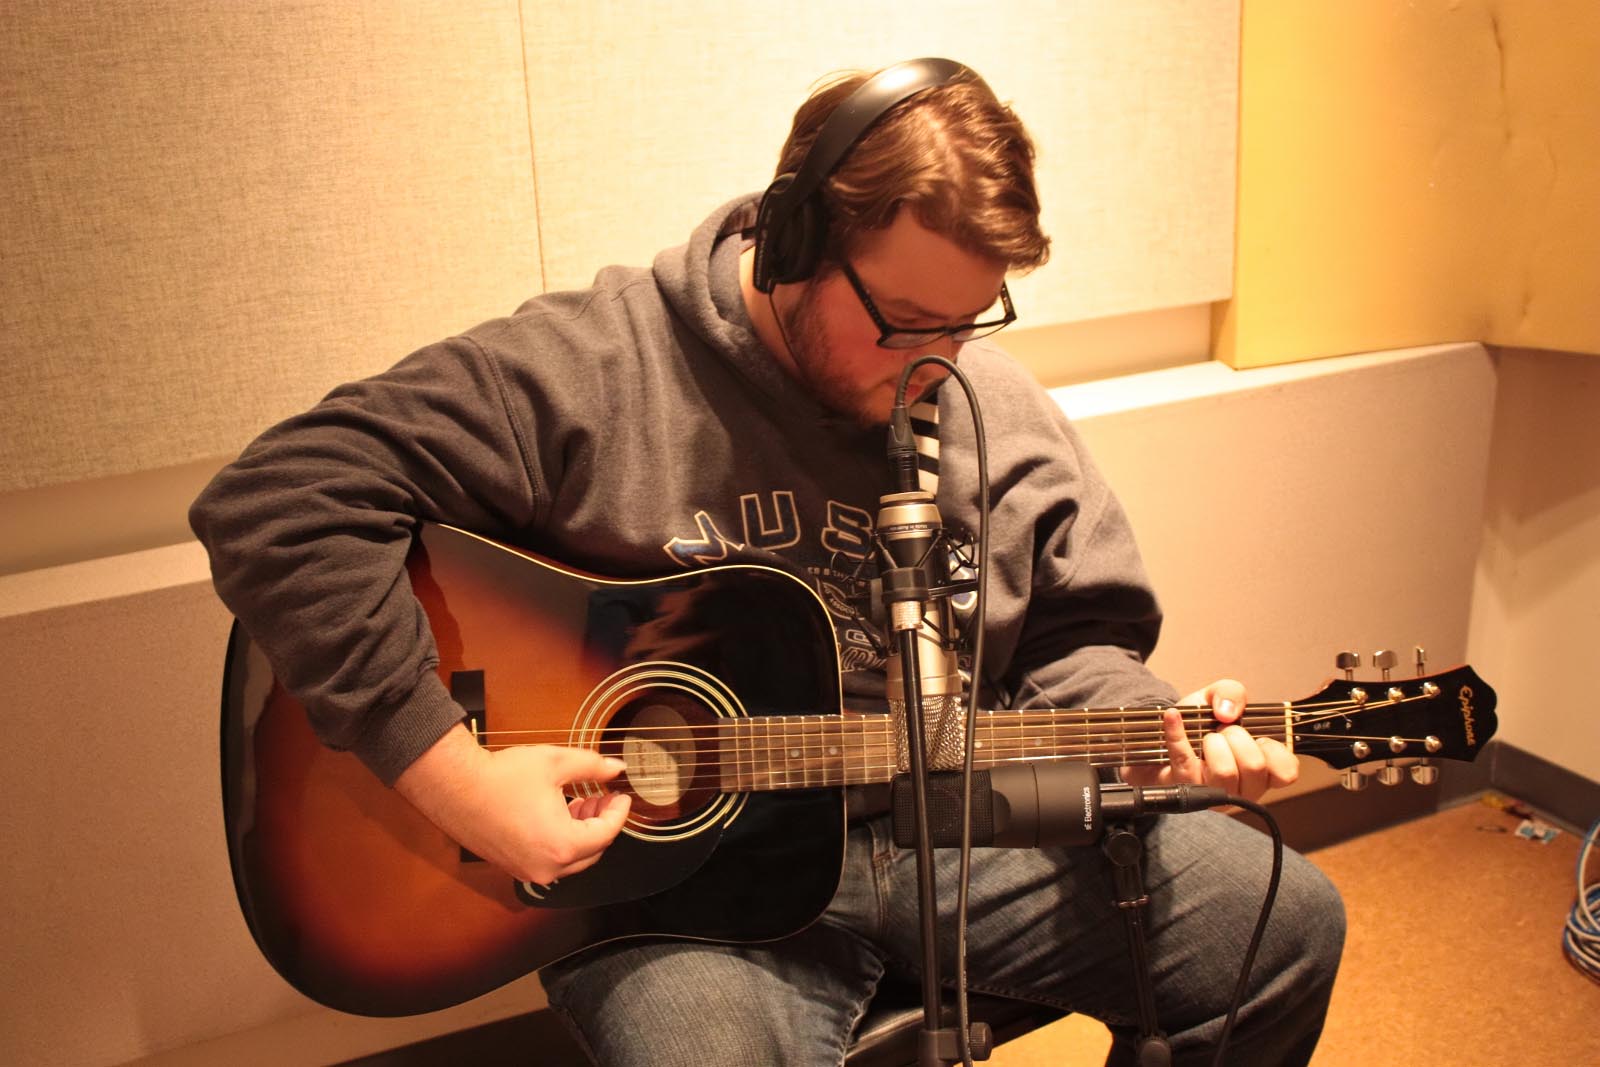 Joe Collins, the male singer we heard earlier, also plays the guitar, quite well I must add. He performed an original composition on his Epiphone Dreadnaught. In contrast to Roberto’s strumming, Joe employed a finger-picking style.
Epiphone Dreadnaught, Mic #1
Epiphone Dreadnaught, Mic #2
Joe’s guitar was the quietest track I recorded with these mics, so this was a good test to see if the mics are suitable for quiet acoustic sources. A mic’s self-noise comes into play here. The NT1A, with its very impressive 5dBA rating, shines here. The noise floor is entirely inaudible, even through headphones. The sE X1, according to its tech specs, produces 16dBA self-noise. That is a middle-of-the-road value for microphones in this price range [see a listing of 9 competitive models in our Best $200 Podcasting Condenser Mic Shootout].
The noise in the X1 track is clearly audible.
I used the same mic array here as with the previous guitar recording, but positioned a little further back from the instrument. Nonetheless, the NT1A still gave me more bass response than I want. I thought the lows were well-controlled in the X1 track.
Yet for this production, which would be either solo instrumental or acoustic with vocals, I preferred the more neutral-sounding high-end of the NT1A than the slightly boosted highs of the X1.
Listening Key
In all the above audio tracks, Mic #1 is the sE Electronics X1. Mic #2 is the Rode NT1-A.
Conclusion
The X1 definitely has some features that stood out to me. I applaud sE for the interesting finish on the mic; I think other manufacturers should take note. The -10db pad would allow me to use the X1 for loud sources (such as close drum overheads), which I know from experience the NT1A can not handle.
I’ve done enough critical listening to comfortably say I hear no audible differences between the larger midrange section of the frequency spectrum of these two microphones. Their capture of the timbre of each source was the same, even for the variety of sources I recorded. But the X1 and NT1A are clearly different in the upper mids, and in the “air” section, and also in the low end.
For all-around studio usage, I would give the edge to the Rode NT1-A. My preference is based in part on the accessories, because the NT1-A includes a shockmount and a sturdy zip bag. In contrast, the clip included with the X1 was a disaster. To someone on a budget–the most likely kind of person to buy the X1–it will not seem reasonable to spend more money on a third-party mic clip. Nor to transport the X1 in a cardboard box.
I wish the switches for the pad and the HPF on the X1 matched the mics’ otherwise very sturdy construction.
In terms of the sound of these two microphones, I preferred the warmer and more faithful Rode won me over, verses the brighter and leaner X1.
Related posts:


Posted in Microphones, Shootouts | 6 Comments »
Ethan
January 21st, 2013 at 9:17 pm
I very much enjoyed this Microphone comparison. I really appreciate that it is only revealed at the end which mic is which. Cheers!
Emiliano
May 6th, 2013 at 2:53 pm
I bought the sE X1 mic a few days ago, and I encountered the same problem with the features “0 dB – 10dB” and the low cut switch which I still can’t understand when it is engaged or not… I have checked all possible manuals and I do not know which of the symbols on the right side of the mic (the low cut switch) activates it or not…
Any advise?
Thanks a lot.
sasaan
August 7th, 2013 at 7:01 am
Neumann TLM 102 or sE X1 or Audio-Technica AT2035
nellus
November 8th, 2013 at 8:49 am
info:
in testing the microphone #1 is Rode or X1 ?
Thanks
Bruce Balentine
December 11th, 2014 at 10:31 am
A very helpful review, thanks.
Bert Bronkhorst
January 15th, 2018 at 4:49 pm
Exactly the comparison i was looking for! Thank you!